LED drivers are crucial components that regulate power for LED lighting systems. Poor performance or failure can lead to flickering lights or total outages. Understanding how to test if an LED driver is bad is essential for maintaining efficient lighting.
According to the U.S. Department of Energy, improper LED driver function can lead to a reduction in energy efficiency by up to 30%. This inefficiency not only affects lighting quality but also increases operational costs. Proper testing can identify issues before they escalate.
Several signs can indicate a faulty driver, such as inconsistent brightness or unusual noises. Being aware of these symptoms helps prevent costly replacements. Knowing how to test if an LED driver is bad can save time and money in the long run. Regular checks ensure that your lighting remains reliable and efficient.
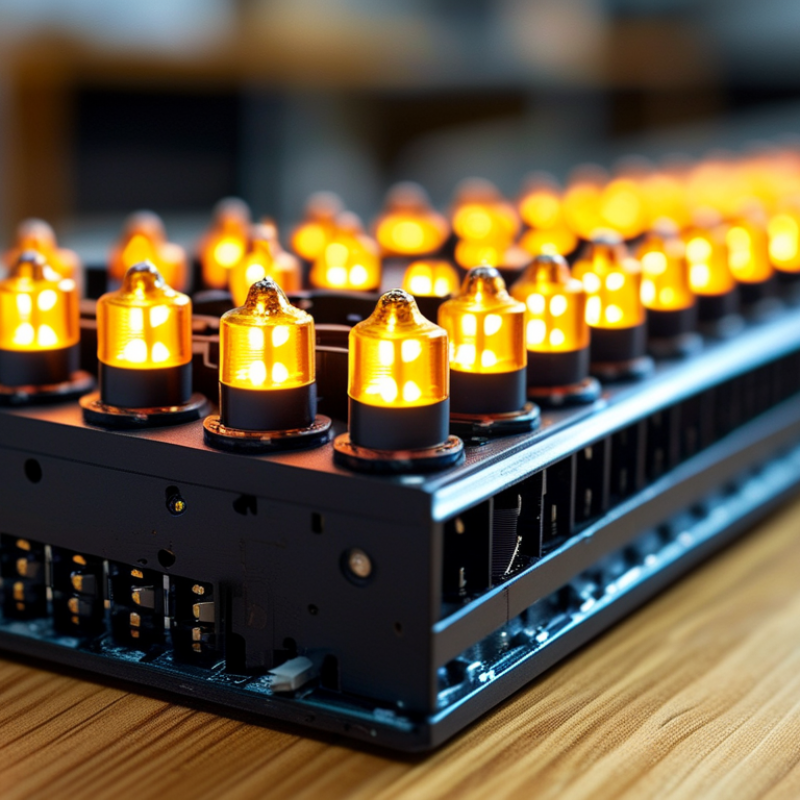
LED drivers play a crucial role in lighting systems. They control the power and current supplied to LED lights, ensuring efficiency and longevity. A well-functioning LED driver prevents flickering and dimming. A report by the Department of Energy indicated that a faulty driver can reduce the lifespan of LED fixtures by up to 50%. This highlights the need for proper maintenance and timely testing of LED drivers.
Understanding how to test an LED driver is key to maintaining lighting performance. One common sign of failure is inconsistent brightness. If the light appears too bright or too dim, the driver might be malfunctioning. Another indicator is flickering lights. This can be annoying and often points to issues with the driver rather than the LED bulbs themselves.
Tip: Regularly inspect your LED systems. Look for unusual patterns, noises, or heating issues. It is advisable to document these observations over time. This practice helps you identify trends. Making informed decisions about replacements or repairs becomes easier.
Keep in mind that even new drivers can occasionally fail. Manufacturing defects are not uncommon. When testing, use a multimeter to measure output voltage and current. If the readings don't match specifications, the driver is likely at fault. Regular testing ensures your LED system performs at its best.
When assessing a failing LED driver, several common symptoms may indicate issues. Flickering lights are one of the most evident signs. This behavior not only disrupts ambiance but also suggests a potential driver malfunction. Dim lighting can also signal problems; it may mean the driver cannot supply adequate power. Inconsistent brightness over time might frustrate users.
Abnormal buzzing or humming noises are another red flag. This noise can distract from the environment and is often linked to electrical issues. Overheating is equally concerning. If the driver feels excessively hot, it may be on the verge of failure. Furthermore, an LED driver that frequently trips circuit breakers can indicate severe problems. This situation can complicate everyday use and lead to safety hazards.
Other signs include sudden complete blackouts, where lights go out unexpectedly, and poor color rendering, affecting how colors appear. If the lights appear yellow or distorted, the driver’s integrity may be compromised. Regular checks can help catch these issues early. It’s essential to address these symptoms without delay to ensure safety and efficiency. Attending to a failing LED driver can enhance performance and longevity.
Testing an LED driver can seem daunting. However, with structured methods, you can effectively identify issues. Start by disconnecting the LED driver from its power source. This step is crucial. Make sure you inspect the driver visually. Look for burned components or blown capacitors. If you notice any damage, it may indicate a severe internal problem.
Next, utilize a multimeter to assess voltage outputs. Set the multimeter to measure DC voltage. Connect the leads to the output terminals. You should see a value close to the specification. If it’s significantly lower or zero, your LED driver is likely faulty. Checking for continuity across critical components can reveal failures in the circuit path.
Finally, remember to test under various loads. Sometimes, a driver may work fine without load but fail when connected to LEDs. It’s essential to replicate actual operating conditions. Be patient as you interpret results. Reflection on testing methods can enhance troubleshooting skills. Keep learning from each test. This approach will build your confidence over time.
Testing an LED driver requires specific tools and equipment to ensure accurate results. A multimeter is essential for measuring voltage and current output. It helps identify whether the driver operates within expected parameters. A clamp meter is also useful, especially for assessing current without breaking the circuit.
In addition to multimeters, consider having a load tester. This device simulates the actual load of the LED lights, allowing for real-time testing of the driver. It can reveal issues that might not show up with a multimeter alone. A suitable test fixture can simplify the process, making attachment and testing straightforward.
Having these tools will enable a thorough evaluation of the LED driver’s performance. It’s vital to maintain these tools in good condition for reliable results. New users often struggle with accurate readings and understanding how to use the equipment. Familiarity with their functions could make a significant difference. Testing each component systematically reduces the chances of overlooking important signs of failure.
| Sign | Description | Testing Tools | Expected Outcome |
|---|---|---|---|
| Flickering Light | Inconsistent light output, flickering or blinking. | Voltmeter, LED tester | Stable light output when tested. |
| Dim Light | Light output is lower than expected. | Multimeter | Power output matches the rating. |
| Overheating | Driver feels excessively hot during operation. | Infrared thermometer | Normal temperature readings. |
| No Power | Light does not turn on at all. | Voltage tester | Voltage present at output. |
| Unusual Noises | Buzzing or humming sounds from driver. | Audio recording device | No audible noise during operation. |
| Burnt Smell | Strong smell of burning plastic or electronics. | None | No unusual odors present. |
| Physical Damage | Visible signs of damage, cracks, or corrosion. | Visual inspection | No visible damage. |
| Inconsistent Color | Variations in color temperatures or hues. | Colorimeter | Uniform color output. |
| Driver Failure | Driver fails to work after troubleshooting efforts. | Replacement driver for testing | New driver operates correctly. |
| Age of Driver | Driver is beyond its expected lifespan. | Documentation review | Consider replacement if overdue. |
When testing a bad LED driver, interpreting results can be crucial for effective repair or replacement. First, a meter can help assess output voltage. A reading significantly lower than expected indicates a malfunction. This can signal issues with components like capacitors or resistors, which often degrade over time.
Data from industry reports suggest that nearly 30% of LED driver failures stem from overheating and poor thermal management. Regularly check for heat buildup. If the driver feels excessively hot during operation, it may not be delivering power effectively. Disconnecting the driver and inspecting it for burnt components can be revealing. Signs like discoloration or swelling may indicate damage.
Once you’ve pinpointed the problem, consider the next steps. Repairing damaged components can be an option, but sometimes replacement is more cost-effective. Take into account the age and performance of the existing driver. Investing in a new driver can often provide better efficiency and reliability, enhancing overall system performance.
: Common signs include flickering lights, dim lighting, and inconsistent brightness. These issues indicate potential driver malfunctions.
Start by disconnecting the driver from power. Visually inspect for damage, then use a multimeter to check voltage output.
Flickering often suggests a malfunctioning driver rather than issues with the LED bulbs themselves.
Excessive heat can indicate a failing driver. It's a serious concern that could lead to failure.
Note unusual patterns, noises, or heating issues. Documentation helps identify trends over time.
Yes, even new drivers can have manufacturing defects. Regular testing is essential for optimal performance.
This may indicate severe problems. It complicates everyday use and poses safety hazards.
Test the driver with connected LEDs. Sometimes they work fine without load but fail when needed.
If colors appear distorted or yellow, the driver’s integrity may be compromised, affecting lighting quality.
Reflecting helps enhance troubleshooting skills and builds confidence. Each test provides learning opportunities.
LED drivers play a crucial role in lighting systems by regulating power to LED lights. However, like any electronic component, they can fail over time. Common symptoms of a failing LED driver include flickering lights, inconsistent brightness, or complete failure of the lights to turn on. To determine how to test if an LED driver is bad, a systematic approach is essential, utilizing specific testing methods and tools.
Start by gathering necessary equipment such as a multimeter to check voltage output and continuity. Following step-by-step testing methods will allow you to diagnose the driver effectively. After conducting the tests, interpreting the results will help you decide whether to repair or replace the faulty driver. By understanding these steps, one can ensure LEDs function optimally, thereby enhancing their lifespan and performance.
