In the world of DIY lighting, knowing how to cut and connect LED strip lights without soldering is an essential skill. Michael Johnson, a leading expert in home lighting solutions, emphasizes, "Understanding how to modify LED strips correctly can open up endless design possibilities."
Cutting and connecting LED strips seems daunting at first. However, with the right techniques and tools, anyone can achieve impressive results. These flexible lights can transform spaces when mastered. Failing to learn these methods may lead to wasted materials and suboptimal setups.
It's key to remember that precision is crucial. Accurate cuts ensure the strips function properly. An uneven connection could result in flickering lights. Experimenting with different ways to connect strips can lead to discoveries, but not all attempts will be successful. This journey offers both challenges and learning opportunities, paving the way for a brighter, more personalized environment.
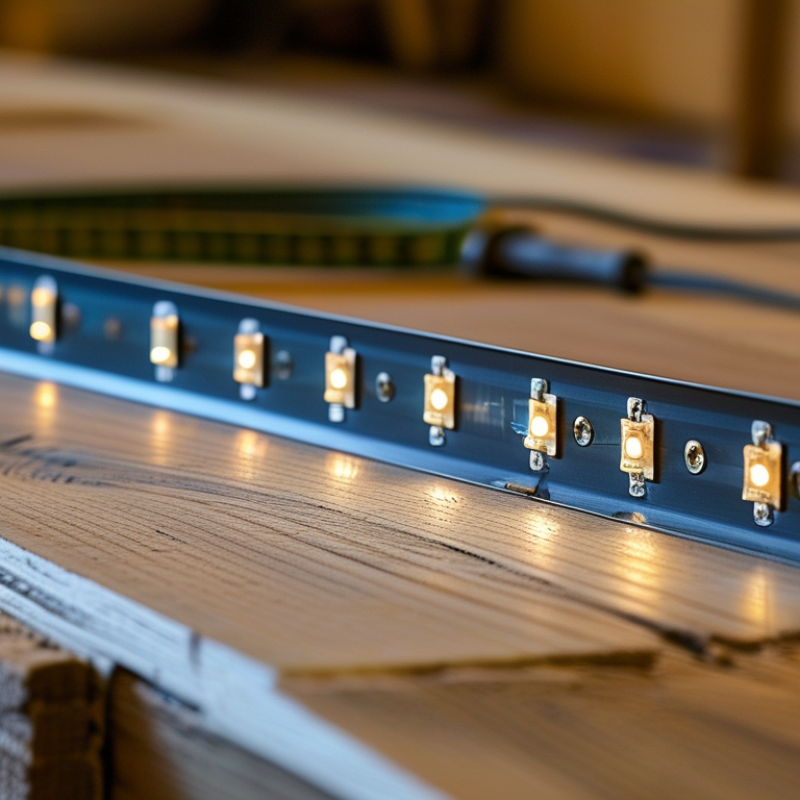
LED strip lights are versatile and popular for many lighting projects. Understanding their components is crucial for effective use. Typically, an LED strip consists of LED chips, a PCB (printed circuit board), and an adhesive backing. These components work together to provide flexible, bright illumination.
When cutting LED strip lights, you will notice designated cutting points, usually marked on the strip. Make sure to cut along these lines. This avoids damage and ensures proper functionality. Always handle the strips carefully during this process.
Tips: To make connections without soldering, consider using connector clips. They can securely join two cut strips. Ensure that the polarity matches, as connections can be sensitive to this. Taking time to double-check your connections is a good practice. A misconnection could lead to malfunctioning lights. Quality control is essential, as poor connections may not last long.
This chart illustrates the success rate of different methods for cutting and connecting LED strip lights without soldering. The data shows the effectiveness of various connection techniques based on user experiences.
Cutting and connecting LED strip lights can enhance any DIY project. However, you need the right tools for success. Essential tools include a sharp pair of scissors for cutting, a utility knife for precise adjustments, and adhesive clips for a secure connection. Additionally, you should have connectors specifically designed for LED strips. These connectors eliminate the need for soldering, making the process easier.
Industry data indicates that the demand for energy-efficient lighting is on the rise. According to a report from the U.S. Department of Energy, LED lighting can save about 75% of energy compared to traditional bulbs. This shift toward energy-efficient solutions has led to a growing market for DIY LED project tools. Using the right connectors can further improve energy savings and reliability. Many users report frustrations with fragile connections, highlighting the importance of choosing high-quality products.
While connecting LED strips, ensure you cut along designated marked lines. Failing to do so may lead to poor lighting quality. Test connections before installation to avoid potential issues later. It is essential to understand that mistakes can happen. Learning from them ultimately improves your skills in DIY projects.
Cutting LED strip lights can seem daunting, but with the right approach, it's achievable for anyone. Properly cutting these lights ensures you maintain their functionality, which is pivotal for energy efficiency. According to a report by the Illuminating Engineering Society, improper installations can lead to up to 30% more energy consumption. Understanding how to cut and connect them safely can save you money in the long run.
Start by locating the designated cut lines on the LED strip. These lines are often marked by scissor icons. Use scissors or a sharp blade to make a clean cut. Ensure the power is turned off before you begin. A clean cut prevents fraying and potential short circuits, resulting in a more reliable connection. Handling each piece carefully is essential as damaged strips may not illuminate properly.
Tips: When connecting the strips, consider using connectors rather than soldering. Connectors often create an easier and more reliable connection. They reduce the risk of damaging the LED strip during installation. Check consistency in the voltage to avoid flickering lights.
Be mindful of the environment you’re working in. Proper ventilation is important, especially if you’re using adhesives to secure your strips. Not paying attention here may lead to lingering fumes. Remember, a little patience goes a long way. A hasty approach can result in mistakes, leading you to do it all over again. Choose your tools wisely; quality makes a difference in the outcome.
Connecting LED strip lights without soldering is both practical and accessible. There are several effective techniques you can use. One popular method is employing connector clips. These clips are designed specifically for LED strips. They offer a secure and reliable connection. Simply align the strip within the clip and push down to lock it in place. It's quick and requires minimal tools.
Another option is to use solderless wire connectors. These connectors allow you to join two strips through a simple twist and lock mechanism. It's essential to ensure that the wires are securely twisted to maintain a good connection. Some people find this method easier than using clips. However, you must inspect your connections regularly. Over time, they may loosen.
If you decide to cut your LED strips, accuracy is key. Use a sharp knife or scissors designed for electronics. Cutting at the wrong spot can damage the circuitry. Always double-check the cut lines before proceeding. No method is perfect, and mistakes can happen. Rely on your instincts and practice these skills to improve your results.
When working with LED strip lights, testing connections is crucial for the overall performance. Many experts recommend using a multimeter to check for continuity. This method ensures that power is flowing properly. If light strips do not illuminate, check all connections and power sources. According to a 2021 report by the Lighting Research Center, improper connections can lead to a 30% drop in efficiency.
Troubleshooting LED connections may sometimes reveal more complex issues. A common problem is voltage drop across long runs of LED strips. This can diminish brightness at the far end. In fact, research shows that voltage drop can affect performance when the strip exceeds 16 feet. It’s advisable to keep connections short.
Using connectors instead of soldering simplifies the process, but poor-quality connectors can lead to failures. Regular inspections can help identify wear or corrosion. Ensure connections are secure and free from debris. Testing each segment separately before final installation can save trouble down the line. If problems persist, consider consulting with industry professionals for advice.
: You need sharp scissors, a utility knife, and adhesive clips for connecting.
Connectors eliminate soldering, making the process easier and improving energy savings.
Use high-quality connectors and check all connections before final installation.
Cut along designated marked lines to ensure good lighting quality and avoid issues.
Check all connections and power sources; use a multimeter for testing continuity.
Voltage drop reduces brightness over long runs of LED strips, especially over 16 feet.
Regularly inspect for wear, ensure secure connections, and test each segment separately.
Consider consulting industry professionals for troubleshooting and advice.
Yes, poor connectors can lead to failures and impact overall performance.
Yes, mistakes can provide valuable lessons that improve your DIY skills.
In the guide titled "How to Cut and Connect LED Strip Lights Without Soldering," readers are introduced to the essential components of LED strip lights and the necessary tools for successful installation. Understanding the structure of LED strips is crucial, as it informs the cutting and connecting process. The article provides a detailed step-by-step approach to safely cutting LED strip lights, ensuring users can achieve precise lengths for their projects.
Additionally, various techniques for connecting LED strips without soldering are outlined, including the use of connectors and adhesive strips. These methods offer a simple and efficient way to assemble LED lighting setups without the need for advanced soldering skills. The guide concludes with valuable tips on testing connections and troubleshooting common issues, empowering users to confidently create and customize their LED lighting solutions.